How to Add Live Captions to OBS (Free, Private, Real-Time)
A new viewer drops into your stream, can't hear what you're saying (or has the sound off), and leaves in ten seconds. A fast talker, a quiet moment, loud game audio: live captions help with all of it.
This guide shows how to turn your mic into live captions and show them in OBS. The AI runs on your own PC, so your voice never gets sent to a server.
 Offline TranscriberLive captions from your mic. Free for 10 minutes, nothing is uploaded.Open the tool
Why add live captions to a stream?
- Viewers with the sound off can follow along. In a 2019 US survey by Verizon Media and Publicis Media, 69% of people said they watch video with the sound off in public places, and 25% do so even in private. (It's a US survey, so treat it as a rough guide.)
- You cover the hard-to-hear moments: fast talking, whispers, or game audio drowning you out.
- Your captions can match your channel's look. Pick a template and tweak colors and position.
What you need
- OBS Studio 28 or newer (the WebSocket feature is built in)
- Chrome or Edge on a PC. The AI runs inside your browser, so a reasonably capable PC helps.
- Your usual streaming mic
The AI model downloads once on first use (about 80 MB for the standard one). After that it works even offline.
Step by step
1. Open "For live streams" and pick a caption look
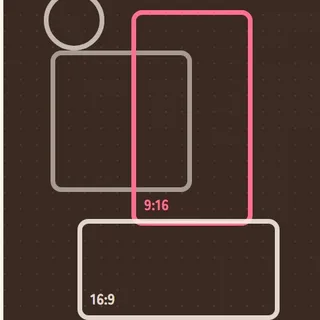
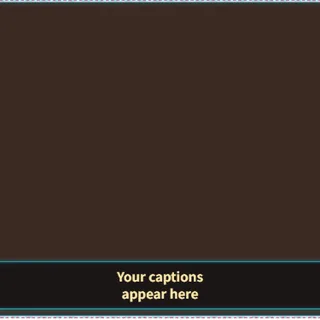
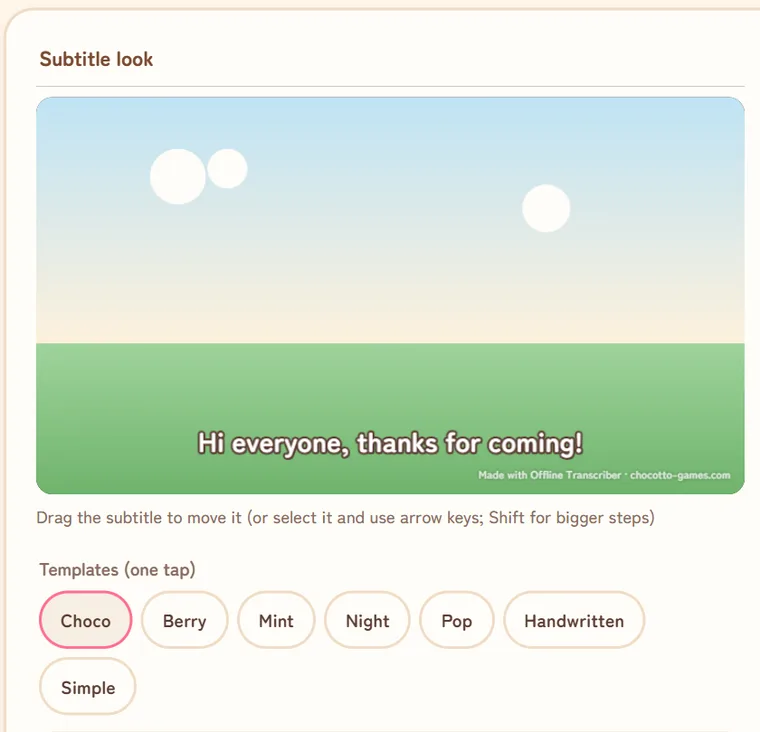
Open Offline Transcriber and choose "For live streams". The preview at the top shows how your captions will look. Tap a template (Choco, Berry, Mint, Night, Pop, Handwritten or Simple) to change colors and shape, and drag the caption wherever you want it.
2. Turn on the WebSocket server in OBS
In OBS, go to Tools → WebSocket Server Settings, tick "Enable WebSocket server", then click "Show Connect Info" to see the password.
Paste that password into the "OBS WebSocket password" field in the tool and press "Connect to OBS".
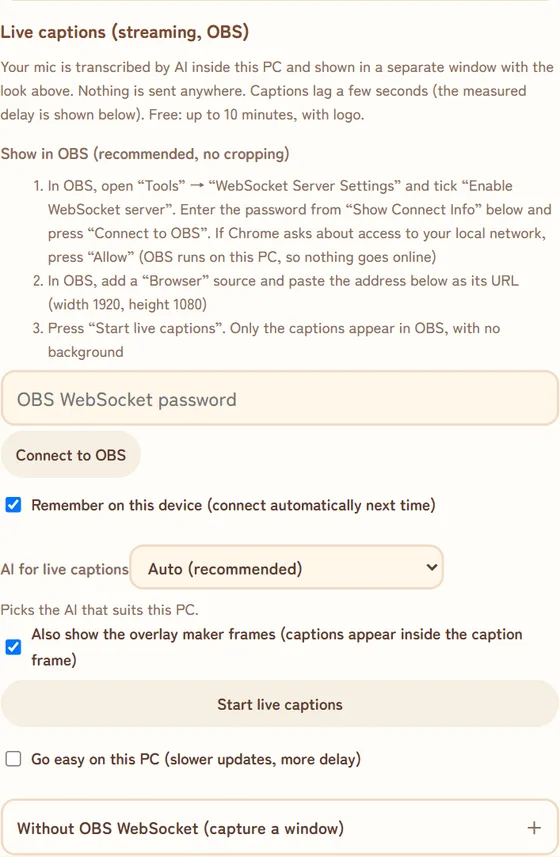
If Chrome asks for access to your local network, press "Allow". That only lets the page talk to OBS on the same PC. Nothing goes out to the internet.
Tick "Remember on this device" and it will connect automatically next time.
3. Add a Browser source in OBS
In OBS, click the + under Sources and choose "Browser". Paste the address shown in the tool into the URL field, and set the width to 1920 and the height to 1080.
4. Press "Start live captions"
"AI for live captions" is fine on Auto (recommended); it picks a model that suits your PC. Press "Start live captions" and talk into your mic. Only the captions show up in OBS, with no background.
If you've made overlay frames with the tool's overlay maker (see how to make a free stream overlay), tick "Also show the overlay maker frames" and the captions will appear inside the caption frame.
Troubleshooting
OBS won't connect
- Check that the WebSocket server is enabled in OBS
- Check the password. Copying it from "Show Connect Info" is the safest way.
- Make sure you pressed "Allow" when Chrome asked about local network access
Captions are a few seconds late
That's normal: the AI has to hear you before it can write. The tool shows the measured delay.
My stream stutters
Tick "Go easy on this PC". Updates become slower and the delay grows a little, but your PC has more room for the game.
I don't want to use the WebSocket
Open "Without OBS WebSocket (capture a window)" in the tool. Start live captions, add a Window Capture source for the caption window in OBS, tick "Client area", and add a Chroma Key filter that matches the window's background color (green, pink or black).
Free vs. paid
| Free | Creator (one-time purchase) | |
|---|---|---|
| Live captions | Up to 10 minutes, with logo | No time limit, no logo |
| AI | Auto, Fastest or Balanced | Also the "Most accurate" AI |
| Overlay maker | Watermarked exports | No watermark |
Try the free 10 minutes first and see how it looks on your own stream. The paid version is a one-time purchase, not a subscription. You'll find the price on the tool page.
Is my voice really not uploaded?
Your voice and the text stay on your PC. The tool only goes online to download the AI model and, on the paid version, to check your license key. To see for yourself, press F12 in Chrome, open the Network tab, and watch it while captions are running.
Summary
- Enable OBS's WebSocket server and paste the password into the tool
- Add a Browser source with the shown address, 1920 × 1080
- Expect a few seconds of delay; tick "Go easy on this PC" if your stream stutters
- Free for 10 minutes, and your voice is never uploaded
Try live captionsFree for 10 minutes. Your voice stays on your PC.Open the tool
Sources
- OBS Studio (the WebSocket server is built in from version 28)
- Streaming Media: "80% of Video Caption Users Aren't Hearing Impaired, Finds Verizon", on the 2019 Verizon Media / Publicis Media survey of 5,616 US adults
Last checked October 21, 2026. OBS menu names can differ slightly between versions.